转自Appium pro 系列文章
This post is sponsored by 
HeadSpin’s custom bluetooth board and analysis API allows testing voice assistants, validating streaming media, and working with voice calls on real devices. Check it out.
One of the most common observations you can make while watching people using their mobile apps in the real world is that they often have headphones plugged into them (or not, depending on their level of courage). We could talk more about extreme headphone usage as a social phenomenon, but this is Appium Pro! As testers, we’re thinking to ourselves, “Oh no, have we tested the audio playback portion of our app?”
Audio playback testing is a hard concept to tackle, so we’re going to explore it over 2 editions. In this first edition, we’ll examine audio capture , or how to make sure we can get audio files generated from real user scenarios in our app. In the second part, we’ll look at audio verification , which is the real important piece. But of course, we can’t verify audio playback if we have no way to capture the audio! So let’s figure this out.
We have several different options when it comes to collecting audio, and the first is to choose whether we’re capturing from a real device or a virtual device.
Capturing audio from a real device
To capture audio from a real mobile device, you’ll need a device that has a headphone jack or adapter. Plug one end of a 3.5mm male-to-male headphone cable into the headphone jack, and the other into your digital audio input device. Many computers these days don’t support line in directly, so you may need an external digital audio converter. Either way, remember which audio input device the headphone is now connected to, and simply skip down to the ffmpeg setup instructions below.
Capturing audio from a virtual device
Virtual devices play audio using the system audio outputs, so for virtual devices we need a way to treat a system audio output as a kind of audio input . I’m going to explain how to do this on a Mac; for other platforms, you’ll need to research how to achieve the same result.
Soundflower Setup
The first thing we need to do is get Soundflower up and running. This is a kernel extension which adds a special audio output device and a special audio input device called Soundflower (2ch) . So go ahead and follow the Soundflower installation instructions until this device is visible in your system (restart probably required). To check whether the device is visible, go to the “Sound” preference pane in System Preferences, and you should see the devices under the “Output” and “Input” tabs.
Now, experiment with playing an audio file. While it’s playing, change the output device to the Soundflower output. You should hear the audio cut out. That’s because the audio is now being redirected to the Soundflower device, which is not connected to your speakers or headphones. It’s a virtual audio device, which we’ll use to record sound coming from virtual mobile devices!
Android Emulator Setup
Android Emulators are a bit weird when it comes to audio. They set their system audio output channel when they boot up for the first time, and at that point only . So they do not respect changes you make in the Sound preferences of your Mac. What this means is that we want to make sure our audio settings are set up for internal audio capture via Soundflower before we launch our emulator. And not just before we launch it, but before it boots . This means that if you have an already-warm emulator, you’ll need to completely shut it down, change sound preferences, and then perform a cold boot on the emulator.
In addition to the Soundflower selection described above, you’ll also want to go to the “Sound Effects” tab of the Sound preferences, and make sure that the output is set to mirror the system output. That’s because some emulators send all their sound through the Sound Effects channel, for some inexplicable reason.
iOS Simulator Setup
Good news—no additional setup is required for iOS!
ffmpeg Setup
To actually capture audio, we’re going to use a system library called ffmpeg. ffmpeg does lots of stuff, but we only care about its ability to read from an audio device and output an audio file. Our output file is going to be a standard PCM WAV file, which will be great when it comes to doing the verification step later on. The easiest way to get ffmpeg on a Mac is via the Homebrew command brew install ffmpeg , but go ahead and read the ffmpeg docs to make sure it’s installed appropriately on your system. To test things, out, run the command:
ffmpeg -f avfoundation -list_devices true -i ""
This command looks at the Apple audio devices that are available and lists them out, with corresponding IDs. This is the last part of the output I get on my machine:
[AVFoundation input device @ 0x7f9427501240] AVFoundation video devices:
[AVFoundation input device @ 0x7f9427501240] [0] HD Pro Webcam C920
[AVFoundation input device @ 0x7f9427501240] [1] FaceTime HD Camera
[AVFoundation input device @ 0x7f9427501240] [2] Capture screen 0
[AVFoundation input device @ 0x7f9427501240] AVFoundation audio devices:
[AVFoundation input device @ 0x7f9427501240] [0] Built-in Microphone
[AVFoundation input device @ 0x7f9427501240] [1] HD Pro Webcam C920
[AVFoundation input device @ 0x7f9427501240] [2] USB audio CODEC
[AVFoundation input device @ 0x7f9427501240] [3] Soundflower (64ch)
[AVFoundation input device @ 0x7f9427501240] [4] Soundflower (2ch)
In our case, we don’t care about video devices, only audio devices. And the one I care about in particular is [4] Soundflower (2ch) (since I’m recording virtual device audio—make adjustments according to your situation if you’re recording from an actual physical input). So I’ll need to remember that, from ffmpeg’s perspective, the Soundflower audio device is number 4 . Now, we could use ffmpeg from the command line to capture audio, but that doesn’t do us much good in the context of an automated test. What we really want to do is call ffmpeg from inside our test code! So now let’s discuss how to integrate all of these things within an Appium test to achieve audio capture.
Capturing Audio in a Test
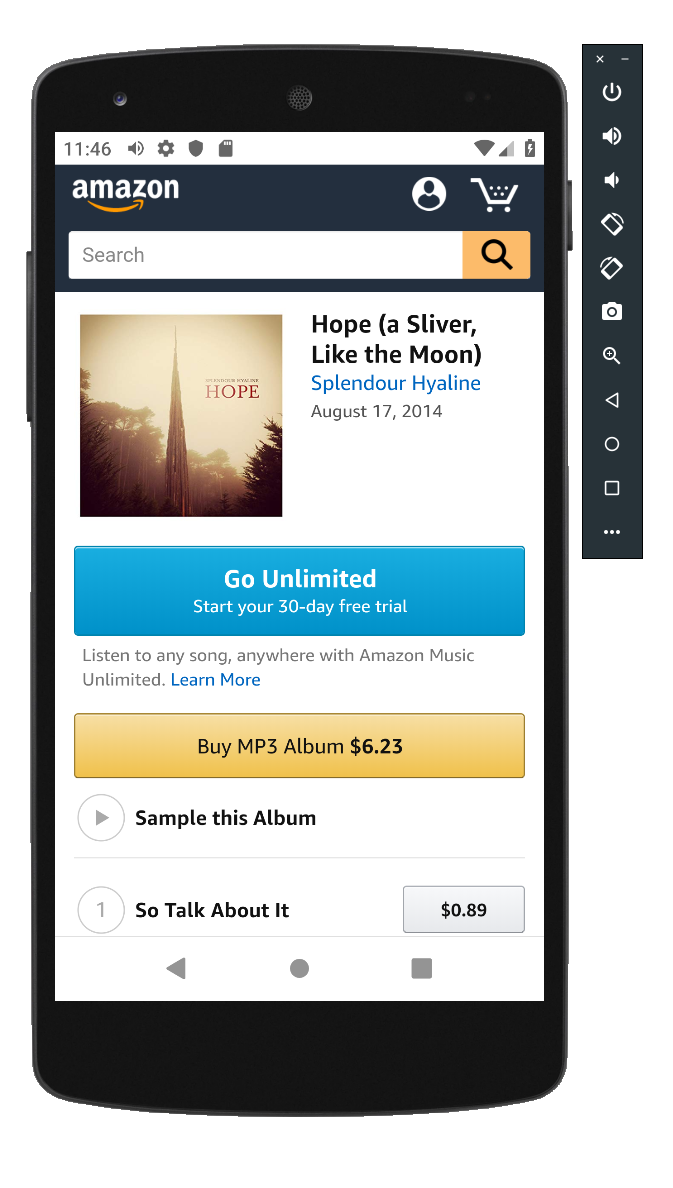
What we’re going ultimately going to test in this mini series is that the Amazon Music sample audio clip for a song from my band’s old album actually sounds correct. In this edition, we’re merely going to work on capturing a portion of the audio sample. Here are our test steps in bullet form:
- Navigate to http://splendourhyaline.com (my hastily-coded band page)
- Click the first link to buy the album on Amazon
- Find the second song in the song list, and click the “play” button to start playing a sample of it
- At this point, turn on ffmpeg to record audio from the Soundflower device, which should be streaming the audio from the Android emulator
- Wait enough time to capture a good amount of audio
- Stop the ffmpeg recording
- Verify that the ffmpeg recording in fact generated a WAV file
And then we’ll have a TODO for next time which will be all about comparing a captured WAV file with a gold standard, to make sure the sound was what we expected. In this case, we’ll be capturing music, but we could be capturing text-to-speech, voice assistant output, or whatever’s appropriate for your app.
Let’s first have a look at the standard Appium web automation code:
WebDriverWait wait = new WebDriverWait(driver, 10);

// navigate to band homepage
driver.get("http://www.splendourhyaline.com");

// click the amazon store icon for the first album
WebElement store = wait.until(ExpectedConditions.presenceOfElementLocated(
By.cssSelector("img[src='/img/store-amazon.png']")
));
driver.executeScript("window.scrollBy(0, 100);");
store.click();

// start playing a sample of the first track
WebElement play = wait.until(ExpectedConditions.presenceOfElementLocated(
By.xpath("//div[@data-track-number='2']//div[@data-action='dm-playable']")
));

driver.executeScript("window.scrollBy(0, 150);");

// start the song sample
play.click();
Basically all this code just gets us to the point where we should actually be hearing music playing. What we want now is to start capturing audio to a file, and then assert that that file actually exists when done. Here’s how we’re going to do this on a relatively abstract level:
File audioCapture = new File("/Users/jlipps/Desktop/capture.wav");
captureForDuration(audioCapture, 10000);

assert(audioCapture.exists());
In other words, I define a place on my system to capture the audio (of course you’ll want an appropriate path for your system), then I call a helper method captureForDuration , into which I pass my desired audio file path, and the amount of time I want to capture audio for (in this case 10 seconds). After this, I simply make an assertion that the captured file exists. (In the next edition, we’ll update this to be a verification of the content of the audio file).
How do we go about implementing captureForDuration ? Well, first of all we know that we’ll need to run ffmpeg as a sub-process. That means dealing with Threads, Runnables, and ProcessBuilder! (At least in Java—every language has its own specific way of dealing with subprocesses). What I’ve done, therefore, is to create an FFmpeg class to encapsulate all these responsibilities:
class FFmpeg implements Runnable {
private Process proc;
private File captureFile;
private int deviceId;

FFmpeg(File captureFile, int deviceId) {
this.proc = null;
this.captureFile = captureFile;
this.deviceId = deviceId;
}

public void run() {
ArrayList<String> cmd = new ArrayList<>();
cmd.add("ffmpeg"); // binary should be on path
cmd.add("-y"); // always overwrite files
cmd.add("-f"); // format
cmd.add("avfoundation"); // apple's system audio---something else for windows
cmd.add("-i"); // input
cmd.add(":" + deviceId); // device id returned by ffmpeg list
cmd.add(captureFile.getAbsolutePath());

ProcessBuilder pb = new ProcessBuilder(cmd);
pb.redirectErrorStream(true);
pb.redirectOutput(Redirect.PIPE);
StringJoiner out = new StringJoiner("\n");
try {
proc = pb.start();
try (BufferedReader reader = new BufferedReader(
new InputStreamReader(proc.getInputStream()))) {

reader.lines().forEach(out::add);
}
proc.waitFor();
} catch (IOException | InterruptedException ign) {}
System.out.println("FFMpeg output was: " + out.toString());
}

public void stopCollection() throws IOException {
BufferedWriter writer = new BufferedWriter(new OutputStreamWriter(proc.getOutputStream()));
writer.write("q");
writer.flush();
writer.close();
}
}
Explaining how this works in detail is beyond the scope of our Appium usage. But basically what we’re doing is calling the ffmpeg binary (which we assume exists on the system and is available on the path) with the appropriate arguments to start an audio capture. What it would look like if we were running it directly on the command line (assuming a value of 4 for the deviceId—you’ll need to use whatever you saw in the previous command output):
ffmpeg -y -f avfoundation -i ":4" /Users/jlipps/Desktop/capture.wav
So that is the command that we start using pb.start . This command would normally run forever (or until we run out of disk space), so we need some way to tell ffmpeg to stop recording. That’s the purpose of the stopCollection method, which we’ll call from outside the class. This method simply sends the letter “q” to the process, which (because of the way ffmpeg is designed) stops recording and ends the process. We make sure to wait for the process to end cleanly (using proc.waitFor() ), and we show the output of the ffmpeg command in the console so if there were any errors we can have a look at them.
With this class in hand, we’re ready to implement captureForDuration :
private void captureForDuration(File audioCapture, int durationMs) throws Exception {
FFmpeg capture = new FFmpeg(audioCapture, 4);
Thread t = new Thread(capture);
t.start();

// wait for sufficient amount of song to play
Thread.sleep(durationMs);

// tell ffmpeg to stop sampling
capture.stopCollection();

// wait for ffmpeg thread to end on its own
t.join();
}
You can see here that we create an instance of our FFmpeg class, and then start the subprocess in a new Thread . This allows the ffmpeg process to collect audio data while we wait for a predetermined amount of time. After that time has elapsed, we call the stopCollection method to tell ffmpeg to stop collecting data, and then we wait for the subprocess to end before moving on (that’s the purpose of Thread.join ).
Obviously, we could make our Thread logic and FFmpeg subprocess handling logic much more robust and safe. But for now, it serves the purpose of showing how we can capture audio in our test for an arbitrary amount of time! Stay tuned for the next edition in which we discuss how to use this captured audio to make verifications about it, which is kind of the whole point! In the meantime, feel free to check out the full code example on GitHub to see all of these pieces put together in a working context. Oh—and don’t forget to change your system audio output back to whatever it was before you changed it to Soundflower! Otherwise you won’t be able to capture the audio of your favorite music with your own ears!
