一、简介
-
静态文件(static file)和模板概念相反,指的是内容不需要动态生成的文件,如图片、CSS文件和JavaScript脚本等。
-
在Flask中,需要创建一个static目录来保存静态文件,它应该和程序模块、templates在同一目录层级。
二、生成静态文件URL
-
在HTML文件里,引入这些静态文件,需要给出资源所在的URL。为了更加灵活,这些文件的URL可以通过
url_for()函数来生成。 -
对于静态文件,
url_for()中需要传入的路由是static,同时使用filename参数来传入相对于static文件夹的文件路径。
例如,可以通过以下语句,来获取在static文件夹的目录下的logo.jpg文件 :
<img src="{{ url_for('static', filename='pic.jpg') }}">
花括号部分的调用会返回 /static/pic.jpg。
- 注意:在python脚本里,
url_for()函数需要从flask包中导入,而因为Flask把一些常见的函数和对象添加到模板上下文里了,则在模板中可以直接使用。
2.1 添加图标
-
图标(favourite icon)是显示在标签页和书签栏的网站头像。
-
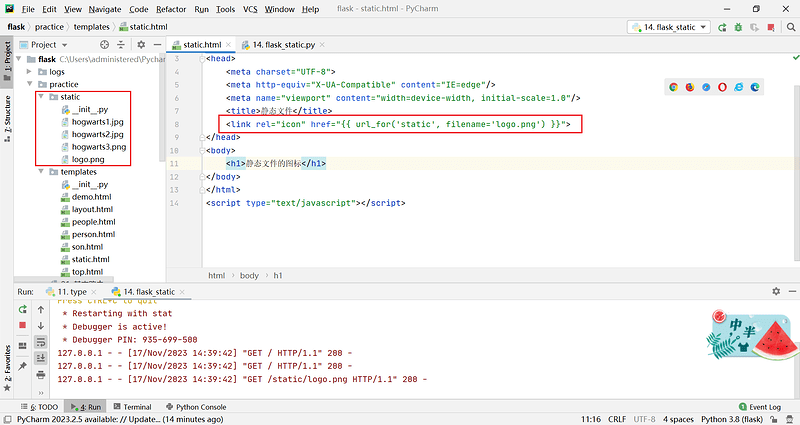
需要准备一个ICO、PNG或者GIF格式的图片,大小一般为16×16、32×32、48×48或者64×64像素。
-
把这个图片放到static目录下,然后在HTML模板里引入它。
示例:
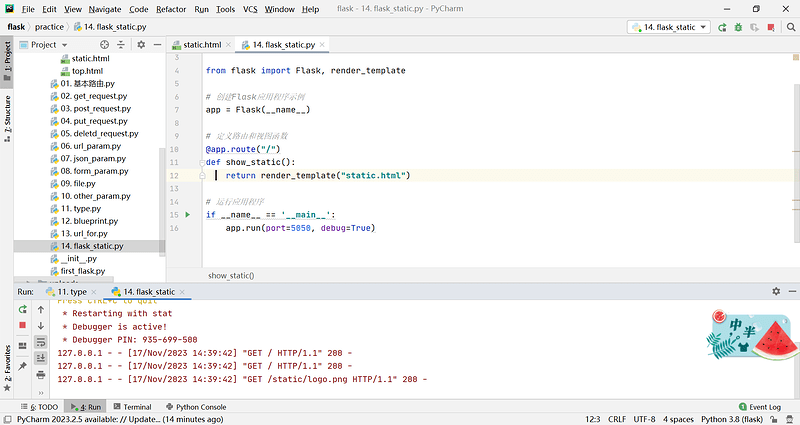
- 创建flask_static.py文件;
from flask import Flask, render_template

# 创建Flask应用程序示例
app = Flask(__name__)

# 定义路由和视图函数
@app.route("/")
def show_static():
    return render_template("static.html")

# 运行应用程序
if __name__ == '__main__':
    app.run(port=5050, debug=True)
- 在templates目录下创建static.thml文件;
<head>
    <meta charset="UTF-8">
    <meta http-equiv="X-UA-Compatible" content="IE=edge"/>
    <meta name="viewport" content="width=device-width, initial-scale=1.0"/>
    <title>静态文件</title>
    <link rel="icon" href="{{ url_for('static', filename='logo.png') }}">
</head>
<body>
    <h1>静态文件的图标</h1>
</body>
</html>
<script type="text/javascript"></script>
- 启动服务,即可在浏览器标签页看到这个图标。

2.2 添加图片
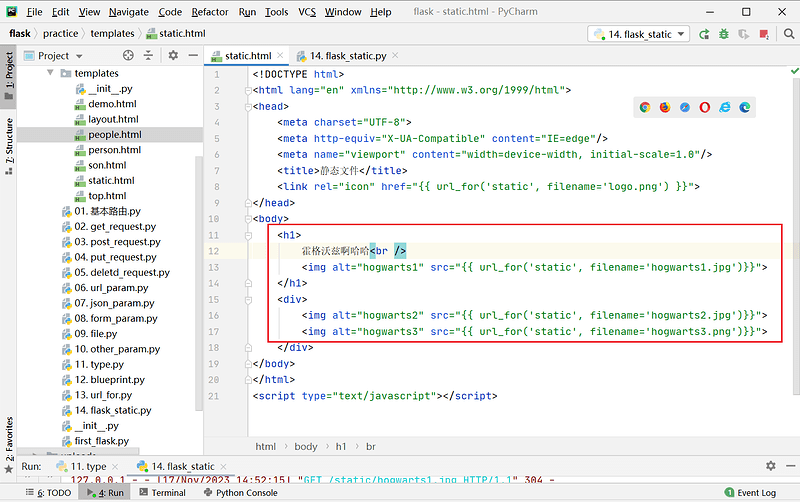
可以在static.html文件中添加图片:
<!--static.html-->

<!DOCTYPE html>
<html lang="en" xmlns="http://www.w3.org/1999/html">
<head>
    <meta charset="UTF-8">
    <meta http-equiv="X-UA-Compatible" content="IE=edge"/>
    <meta name="viewport" content="width=device-width, initial-scale=1.0"/>
    <title>静态文件</title>
    <link rel="icon" href="{{ url_for('static', filename='logo.png') }}">
</head>
<body>
    <h1>
        霍格沃兹啊哈哈<br />
        <img alt="hogwarts1" src="{{ url_for('static', filename='hogwarts1.jpg')}}">
    </h1>
    <div>
        <img alt="hogwarts2" src="{{ url_for('static', filename='hogwarts2.jpg')}}">
        <img alt="hogwarts3" src="{{ url_for('static', filename='hogwarts3.png')}}">
    </div>
</body>
</html>
<script type="text/javascript"></script>
2.3 添加CSS文件
- 添加CSS定义,可以使页面排版更好看。
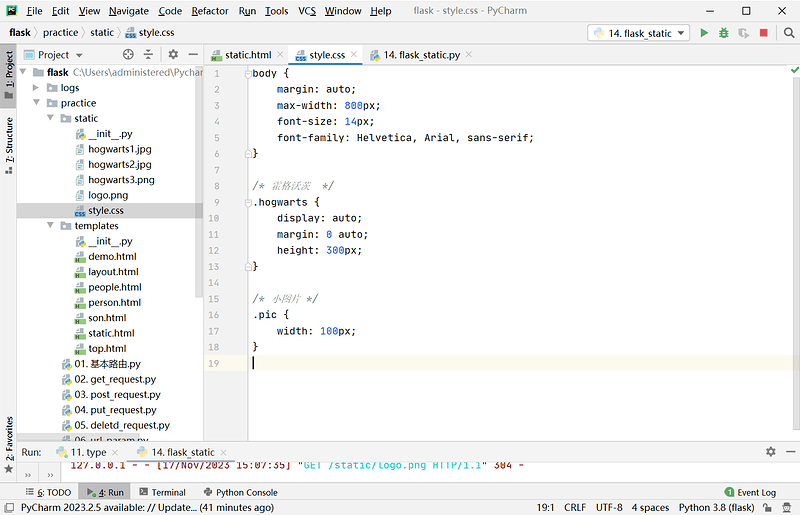
- 在static目录下创建一个CSS文件style.css;
body {
    margin: auto;
    max-width: 800px;
    font-size: 14px;
    font-family: Helvetica, Arial, sans-serif;
}

/* 霍格沃茨  */
.hogwarts {
    display: auto;
    margin: 0 auto;
    height: 300px;
}

/* 小图片 */
.pic {
    width: 100px;
}
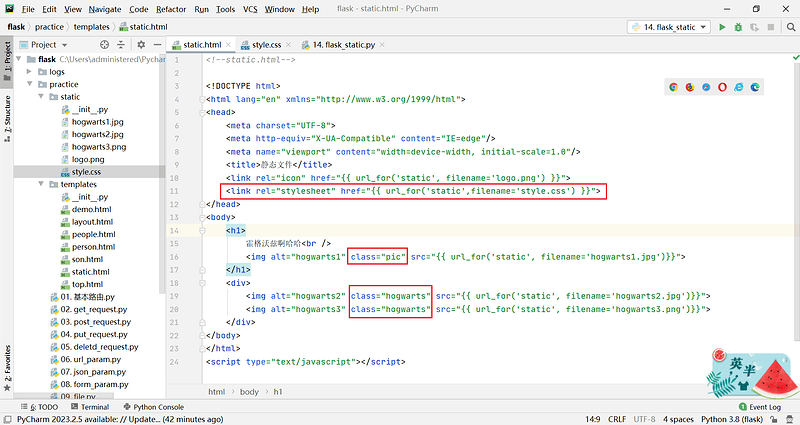
- 然后在static.html页面的标签内引入这个CSS文件;
<head>

    <link rel="stylesheet" href="{{ url_for('static', filename='style.css') }}">
</head>
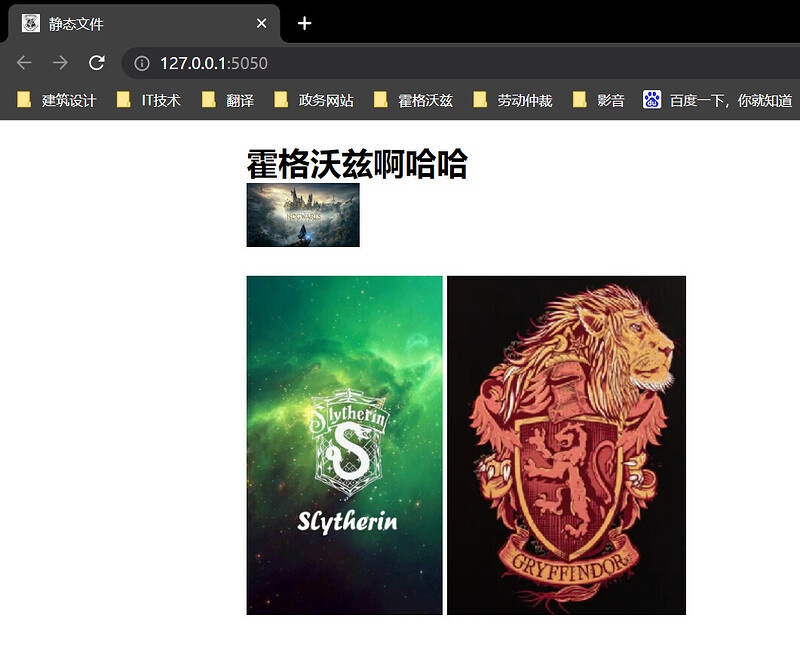
- 最后为对应的元素设置class属性值,以便和对应的CSS定义关联起来;
<!--static.html-->

<!DOCTYPE html>
<html lang="en" xmlns="http://www.w3.org/1999/html">
<head>
    <meta charset="UTF-8">
    <meta http-equiv="X-UA-Compatible" content="IE=edge"/>
    <meta name="viewport" content="width=device-width, initial-scale=1.0"/>
    <title>静态文件</title>
    <link rel="icon" href="{{ url_for('static', filename='logo.png') }}">
    <link rel="stylesheet" href="{{ url_for('static',filename='style.css') }}">
</head>
<body>
    <h1>
        霍格沃兹啊哈哈<br />
        <img alt="hogwarts1" class="pic" src="{{ url_for('static', filename='hogwarts1.jpg')}}">
    </h1>
    <div>
        <img alt="hogwarts2" class="hogwarts" src="{{ url_for('static', filename='hogwarts2.jpg')}}">
        <img alt="hogwarts3" class="hogwarts" src="{{ url_for('static', filename='hogwarts3.png')}}">
    </div>
</body>
</html>
<script type="text/javascript"></script>
- 启动服务,即可看到图片按CSS样式的定义展示。
